When you need a quick, satisfying, and healthy snack, look no further than homemade protein balls. These no-bake bites are the perfect solution for busy days, offering a delicious energy boost without any fuss. They are incredibly versatile, allowing you to customize flavors and ingredients to suit your taste. Best of all, you can whip up a batch in just minutes and keep them on hand for the whole week.
Why You’ll Love This Recipe
This recipe requires zero baking and uses simple, wholesome ingredients you likely already have in your pantry. The process is so straightforward that it’s a fantastic project to do with kids or when you’re short on time. You can easily double the batch to ensure you always have a healthy snack ready to go. The result is a chewy, sweet, and protein-packed treat that satisfies cravings.
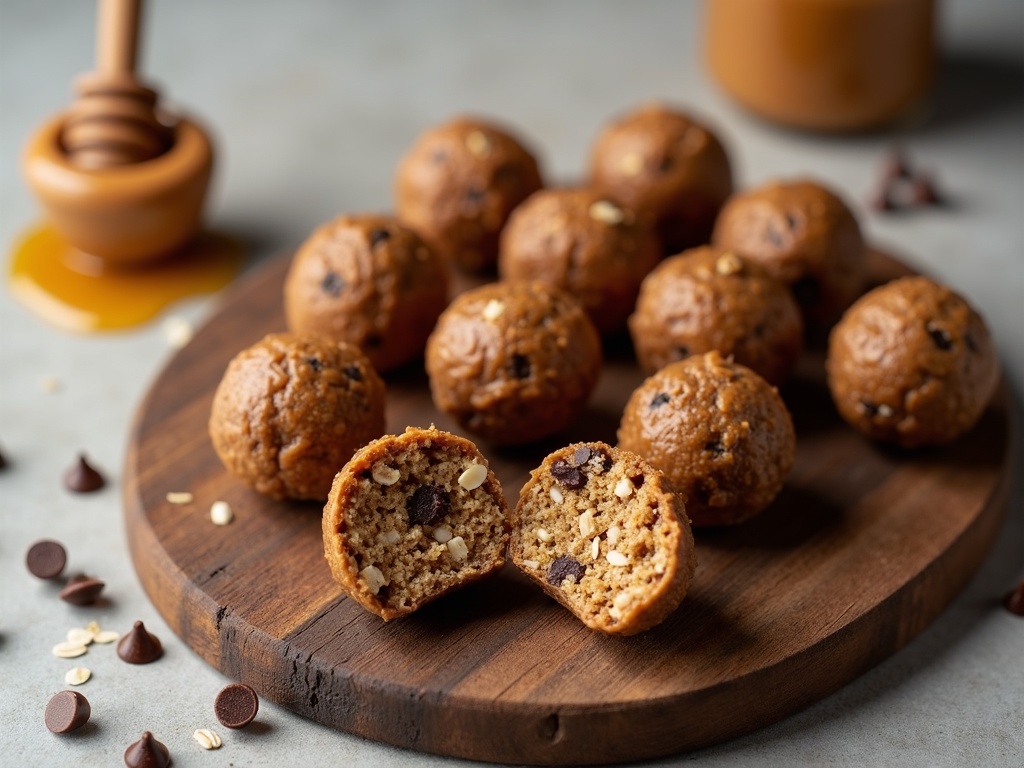
The Ultimate No-Bake Protein Balls Recipe
This is our go-to base recipe for perfect protein balls every single time. It combines creamy nut butter, hearty oats, and a touch of natural sweetness for a balanced snack. Feel free to get creative with add-ins like dark chocolate chips, dried fruit, or seeds. These little bites are a powerhouse of nutrition and flavor, making them ideal for post-workout fuel or an afternoon pick-me-up.
Prep Time: 15 minutes | Cook Time: 0 minutes | Total Time: 15 minutes | Servings: 12 balls
Ingredients
- 1 cup old-fashioned rolled oats
- 1/2 cup creamy peanut butter or almond butter
- 1/3 cup honey or maple syrup
- 1/4 cup ground flaxseed
- 1/4 cup mini chocolate chips (optional)
- 2 tablespoons chia seeds
- 1 teaspoon vanilla extract
- 1/8 teaspoon salt
Instructions
- In a medium mixing bowl, combine the rolled oats, ground flaxseed, chia seeds, and salt. Stir these dry ingredients together until they are well mixed.
- Add the peanut butter, honey, and vanilla extract to the bowl. Use a sturdy spoon or spatula to mix everything thoroughly until a thick, uniform dough forms.
- If you are using chocolate chips or any other add-ins, fold them into the dough at this stage until they are evenly distributed.
- Cover the bowl and place it in the refrigerator for about 30 minutes. This chilling step makes the dough much easier to handle and roll.
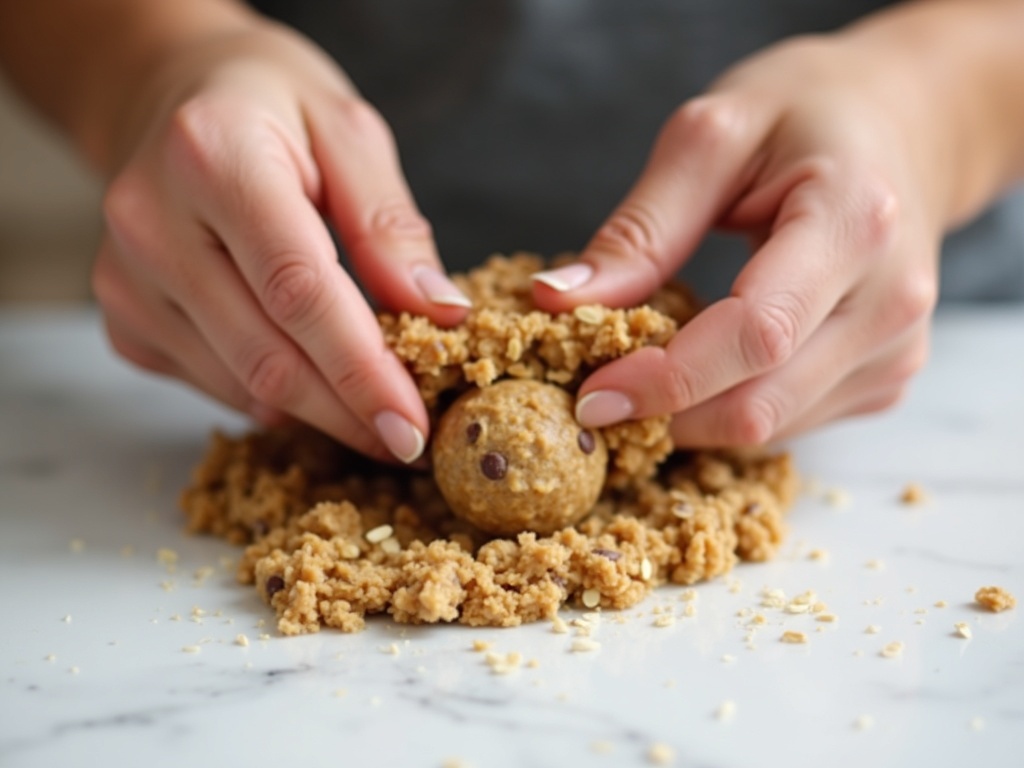
- Once chilled, use your hands to roll the dough into 12 evenly sized balls, each about 1 inch in diameter.
- Place the finished protein balls on a plate or baking sheet. Store them in an airtight container in the refrigerator for up to two weeks.
Tips
- For a firmer texture, you can use quick oats instead of old-fashioned rolled oats.
- If your dough seems too dry, add a teaspoon more of nut butter or honey. If it’s too sticky, add a tablespoon more of oats.
- Roll the finished balls in shredded coconut, cocoa powder, or extra chia seeds for a fun and decorative coating.
Customizing Your Protein Balls
The beauty of this snack is its adaptability. You can create endless flavor variations based on what you have available or what you’re craving. Consider adding a scoop of your favorite protein powder for an extra boost, but you may need to adjust the wet ingredients slightly. For a nut-free version, use sunflower seed butter and omit the chocolate chips or use certified nut-free ones.
Another great option is to create a tropical version with dried mango and coconut. Exploring different combinations keeps your snack routine exciting and ensures you always have a healthy option you love. For more inspiration on healthy snacking, check out our guide on easy meal prep ideas.
Storing and Serving Suggestions
Proper storage is key to keeping your protein balls fresh and delicious. Always store them in a sealed container in the refrigerator, where they will stay firm and fresh. You can also freeze them for up to three months; simply place them in a single layer on a baking sheet to freeze solid before transferring to a freezer bag. This makes them a fantastic make-ahead snack for busy households.
They are perfect for packing in lunch boxes, taking on hikes, or grabbing as you head out the door. According to the USDA’s MyPlate guidelines, nuts and seeds are important sources of protein and healthy fats in a balanced diet (https://www.myplate.gov/eat-healthy/protein-foods/nuts-and-seeds). These homemade protein balls are a delicious and convenient way to incorporate those nutrients.
Wrapping Up
Making your own no-bake protein balls is one of the easiest and most rewarding kitchen projects. You control the ingredients, avoid unnecessary additives, and save money compared to store-bought versions. This recipe provides a fantastic foundation that you can tweak and personalize to your heart’s content. Give this recipe a try this weekend and enjoy having a wholesome, energizing snack ready whenever hunger strikes.
Explore a guide on our sister blog
Related reading: Explore more on this topic