
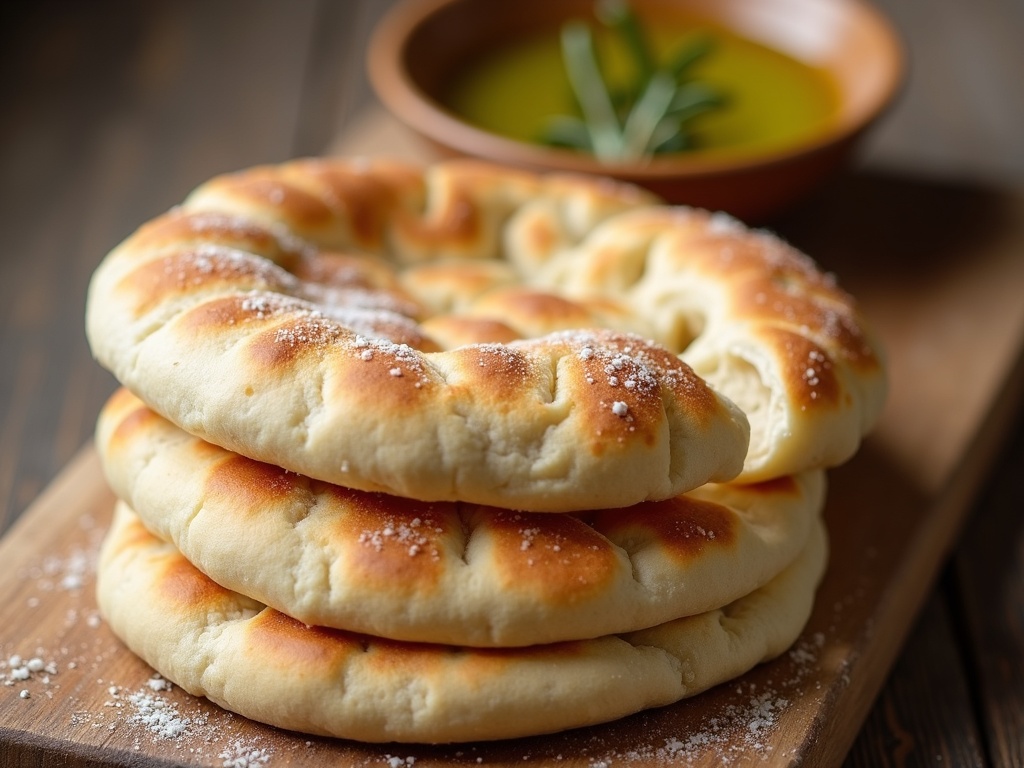
There’s something incredibly rewarding about pulling warm, pillowy pita bread from your own oven. This classic flatbread is far simpler to make than you might think, and our easy pita bread recipe will become a staple in your kitchen. With just a handful of pantry ingredients, you can create soft, pocketed bread perfect for dipping, stuffing, or enjoying on its own. The magic of watching them puff up is a baking joy everyone should experience.
Many store-bought versions simply can’t compare to the fresh, yeasty flavor and tender texture of homemade. This pita bread recipe requires no special equipment, just a bit of patience for the dough to rise. The process is straightforward and forgiving, making it an excellent project for both novice and experienced bakers. You’ll be amazed at the results you can achieve on your first try.
Why You Should Make Pita at Home
Homemade pita bread is free from the preservatives and additives often found in commercial products. You control the quality of every ingredient, from the flour to the olive oil. The taste is noticeably fresher and more complex than anything you can buy in a plastic bag. Plus, the cost of making a batch is significantly lower than purchasing artisanal versions.
The versatility of fresh pita is another major benefit. Use it for classic gyros, as a base for personal pizzas, or torn into pieces for scooping up hummus. When warm from the oven, it’s a treat all on its own with a simple drizzle of good olive oil. Having this skill in your repertoire elevates countless meals from simple to special.
Essential Ingredients for Success
This pita bread recipe calls for basic components you likely already have. Bread flour is ideal for its higher protein content, which develops the gluten needed for those signature pockets. All-purpose flour will work in a pinch, but the texture might be slightly less chewy. Active dry yeast is the most common and reliable leavener for this type of dough.
The water temperature is crucial; it should be warm to the touch but not hot, around 105–110°F. Water that’s too hot can kill the yeast, while water that’s too cold won’t activate it properly. A bit of sugar or honey feeds the yeast and helps the dough rise. Salt enhances flavor, and olive oil contributes to a tender crumb and golden color.
The Perfect Pita Bread Recipe
Prep Time: 15 minutes | Cook Time: 5 minutes | Total Time: 1 hour 30 minutes (includes rising) | Servings: 8 pitas
Ingredients
- 1 cup warm water (105–110°F)
- 2 teaspoons active dry yeast
- 1 teaspoon granulated sugar or honey
- 2 ½ to 3 cups bread flour, plus more for dusting
- 1 teaspoon fine sea salt
- 2 tablespoons extra virgin olive oil
Instructions
- In a large bowl or the bowl of a stand mixer, combine the warm water, yeast, and sugar. Let it sit for 5-10 minutes until the mixture becomes frothy.
- Add 2 ½ cups of the bread flour, salt, and olive oil to the yeast mixture. Stir with a wooden spoon or dough hook until a shaggy dough forms.
- Turn the dough out onto a lightly floured surface. Knead for 5-7 minutes, adding the remaining flour as needed to prevent sticking, until the dough is smooth and elastic.
- Place the dough in a lightly oiled bowl, turning to coat. Cover with a damp kitchen towel or plastic wrap and let rise in a warm place for about 1 hour, or until doubled in size.
- Preheat your oven to 475°F (245°C). Place a baking sheet or pizza stone on the middle rack to heat up.
- Punch down the risen dough and divide it into 8 equal pieces. Roll each piece into a ball, then cover and let rest for 10 minutes.
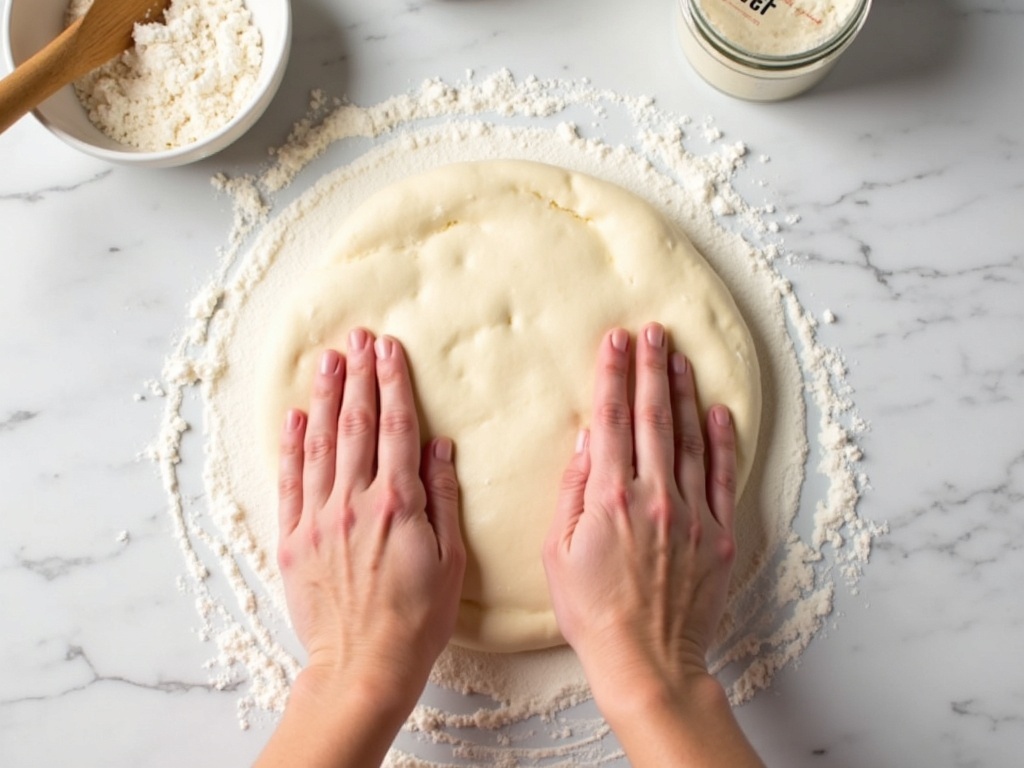
- On a lightly floured surface, roll each ball into a circle about ¼-inch thick. Let the rolled dough rounds rest for 5 minutes before baking.
- Carefully place 2-3 dough rounds onto the preheated baking surface. Bake for 4-5 minutes, or until the pitas have puffed up completely and are lightly golden.
- Remove the pitas from the oven and immediately wrap them in a clean kitchen towel. This keeps them soft as they cool. Repeat with the remaining dough.
Tips
- For the best puff, ensure your oven is fully preheated and your baking surface is very hot before adding the dough.
- Don’t roll the dough too thin; maintaining a ¼-inch thickness helps create a good pocket. If you’re looking for more baking inspiration, check out our guide for perfect weeknight flatbreads.
- Stale pita can be revived by sprinkling with water and warming in a toaster oven for a minute.
Mastering the Pita Pocket
The iconic pocket forms when the intense oven heat turns the water in the dough into steam rapidly. This steam pushes the layers of dough apart before the crust sets. If some pitas don’t puff fully, they will still be delicious and usable. They just might need to be sliced open for stuffing instead of forming a natural pocket.
Consistent thickness when rolling is key to even cooking and puffing. Using a rolling pin and aiming for uniform circles yields the most reliable results. The high baking temperature is non-negotiable for this pita bread recipe to work correctly. A properly heated oven is the most critical factor for success.
Wrapping Up
Now that you have this foolproof pita bread recipe, a world of fresh, homemade meals is at your fingertips. The process is simple, the ingredients are minimal, and the payoff is enormous. Nothing beats the satisfaction of serving bread you made from scratch. Store any leftovers in an airtight bag; they freeze beautifully for up to three months.
For more on the history and cultural significance of this bread, you can read the entry on Pita from Wikipedia. Get your ingredients ready, and let the baking begin!
Explore a guide on our sister blog
Related reading: Explore more on this topic