
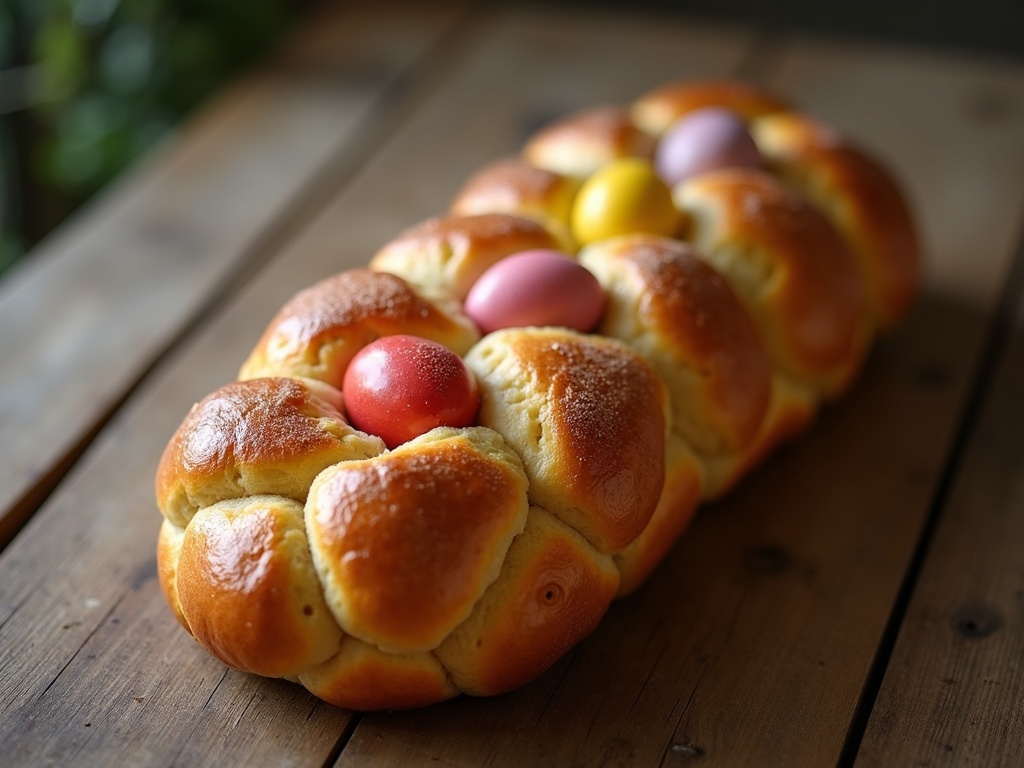
The arrival of spring brings with it the cherished tradition of baking Italian Easter Bread. This sweet, enriched loaf, often studded with colorful eggs, is a centerpiece of holiday celebrations across Italy and in homes worldwide. More than just a recipe, it’s a symbol of rebirth and family, filling the kitchen with the warm, comforting scents of citrus and anise. Making this beautiful bread is easier than you might think, and the results are utterly rewarding.
The History and Significance of Italian Easter Bread
This festive bread, known as ‘Pane di Pasqua’ in Italian, has deep roots in both religious and agricultural traditions. The eggs woven into the dough are powerful symbols of new life and resurrection. The braided shape of the loaf is said to represent the crown of thorns or the unity of the Holy Trinity, depending on regional interpretations. Baking and sharing this bread is a way to honor heritage and create new memories with loved ones.
You can find a fascinating overview of Easter culinary traditions, including those of Italy, on Wikipedia’s dedicated page. The practice of decorating bread with eggs dates back centuries and is common in many European cultures. This makes Italian Easter Bread a delicious piece of living history that you can recreate in your own oven.
Recipe: How to Make Italian Easter Bread
Prep Time: 30 minutes | Cook Time: 25 minutes | Total Time: 3 hours 30 minutes (includes rising) | Servings: 1 large loaf
Ingredients
- 1/2 cup whole milk, warmed to about 110°F
- 2 1/4 teaspoons (1 packet) active dry yeast
- 1/3 cup granulated sugar
- 4 cups (500g) all-purpose flour, plus more for dusting
- 1/2 teaspoon salt
- 3 large eggs, at room temperature
- 1/2 cup (1 stick) unsalted butter, softened
- 1 teaspoon vanilla extract
- 1 teaspoon anise extract (or zest of 1 orange)
- 5-6 raw, uncooked eggs, dyed if desired
- 1 egg yolk beaten with 1 tablespoon water (for egg wash)
- Pearl sugar or sprinkles for decorating (optional)
Instructions
- In a small bowl, combine the warm milk, yeast, and a pinch of the sugar. Let it sit for 5-10 minutes until foamy.
- In the bowl of a stand mixer fitted with a dough hook, combine the flour, remaining sugar, and salt. Add the yeast mixture, 3 eggs, softened butter, vanilla, and anise extract.
- Mix on low speed until a shaggy dough forms, then increase to medium speed and knead for 6-8 minutes until the dough is smooth, elastic, and slightly tacky. If the dough is too sticky, add a tablespoon of flour at a time.
- Place the dough in a lightly oiled bowl, turning to coat. Cover with plastic wrap and a clean towel. Let rise in a warm place for 1.5 to 2 hours, or until doubled in size.
- Punch down the risen dough. Turn it out onto a lightly floured surface and divide it into three equal pieces. Roll each piece into a rope about 20 inches long.
- Pinch the three ropes together at one end and braid them loosely. Bring the ends together to form a circle and pinch to seal. Transfer the braid to a parchment-lined baking sheet.
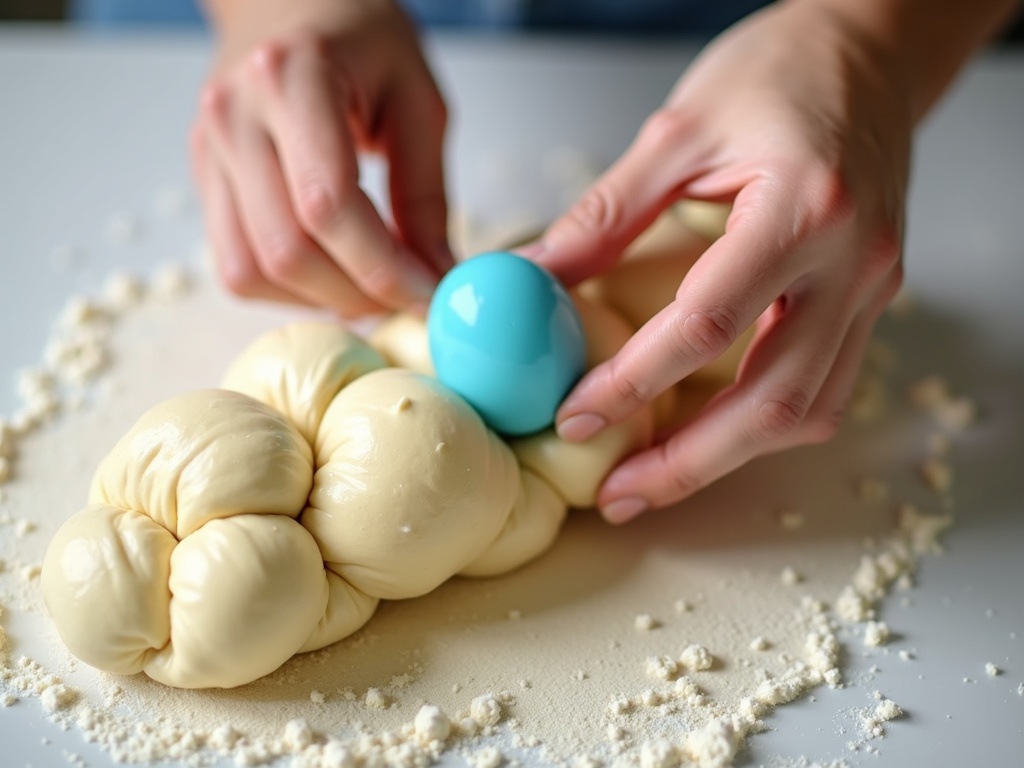
- Gently tuck the dyed eggs into the braids at intervals. Cover loosely with plastic wrap and let rise again for 45-60 minutes.
- Preheat your oven to 350°F (175°C). Brush the risen loaf gently with the egg wash, avoiding the colored eggs. Sprinkle with pearl sugar if using.
- Bake for 25-30 minutes, or until the bread is a deep golden brown and sounds hollow when tapped. The eggs will be hard-cooked. Let cool on the baking sheet for 10 minutes before transferring to a wire rack.
Tips
- For the best flavor, let the baked Italian Easter Bread cool completely before slicing. This allows the crumb to set.
- If you’re not a fan of anise, substitute it with the zest of a large orange or lemon for a bright, citrusy flavor.
- Ensure your eggs are at room temperature before adding them to the dough for optimal rise and texture.
Tips for the Perfect Braided Loaf
Achieving that picture-perfect braid requires a gentle touch. Do not roll the dough ropes too tightly, as they need room to expand during the second rise. When tucking in the eggs, nestle them securely but don’t press down too hard, or you might deflate the delicate dough around them. The final proof is crucial for a light and tender crumb, so be patient and let the loaf rise until puffy.
If you’re looking for more classic comfort baking projects, our recipe for a simple braided challah is a great place to start. The shaping techniques are very similar and build confidence. Remember, even if your braid isn’t perfectly symmetrical, it will taste incredible and be made with love, which is what truly matters.
Wrapping Up
Baking this iconic Italian Easter Bread is a joyful way to connect with tradition and create a stunning centerpiece for your holiday table. The process of kneading, shaping, and watching the dough rise is as satisfying as enjoying the final, fragrant slice. Gather your family, dye some eggs, and embrace the sweet ritual of making this celebratory bread. Your kitchen will be filled with the unforgettable aroma of a holiday made by hand.
Explore a guide on our sister blog
Related reading: Explore more on this topic